 how-to
How to Visualize Custom Home Designs: Step-by-Step
Table of Contents
- Step 1: Gather Reference Images and Define Your Design Preferences
- Step 2: Choose the Right 3D Home Design Software
- Step 3: Visualize Your Floor Plan in 3D
- Step 4: Generate a Custom Home 3D Rendering
- Step 5: Take a Virtual Home Walkthrough
- Step 6: Check Accuracy, Scale, and Buildability
- Step 7: Share Your Custom Home Designs and Collect Feedback
- Conclusion: From Concept to Confident Build
- Frequently Asked Questions
Last Updated: October 5, 2026
Step 1: Gather Reference Images and Define Your Design Preferences
The best way to start visualizing custom home designs is to collect real images before you open any software. Pull 15 to 25 photos of homes, kitchens, and exteriors you like.
Why so many? Because patterns show up fast. If eight of your twenty photos have deep roof overhangs, that's a preference, not a coincidence.
Whole Building Design Guide on building envelope design explains how roof overhangs, wall assemblies, and window placement shape both the look and the performance of a house.
Building a Reference Board for Your Custom Home
Group your images by category: exterior, kitchen, living space, primary bath, and outdoor space. Then write three to five style words under each group.
- "Warm modern," "natural," "lots of light"
- "Simple roofline," "big windows," "wood and stone"
- "Open plan," "quiet corners," "room to grow"
Style words matter more than photos later. When your architect asks what you want, "warm modern with natural light" tells them far more than a folder of 40 images.
Step 2: Choose the Right 3D Home Design Software
The right tool depends on how accurate you need the result to be and what you plan to do with it. 3D home design software ranges from free drag-and-drop apps to full architectural drafting programs. Most ranking articles list apps without telling you how to pick one. Here is the decision framework they skip.
Match the Tool to the Job, Not the Price
Ask four questions before you download anything:
- How complex is the design? A single-room addition or a kitchen remodel tolerates a simple app. A whole-house custom build with a complex roof, multiple levels, and a tight lot does not.
- What is your skill level? If you have never drawn a plan, a steep drafting program will stall you for weeks. If you have drafting experience, a free app will frustrate you within an hour.
- What is your budget? Free tiers exist, but they usually cap exports, watermarks, or the number of saved projects. Paid DIY plans are typically subscription-based, billed monthly or annually, and often cost more than a single architect consultation hour.
- What is the intended use of the visual? A mood board for your own thinking needs far less fidelity than a drawing set headed to a plan reviewer.
Here's how the main options compare:
| Option | Best For | Learning Curve | Accuracy | Typical Cost Model |
|---|---|---|---|---|
| Free design apps | Quick layout ideas, single rooms | Low | Rough | Free with export or project limits |
| Paid DIY design software | Homeowners planning a renovation | Medium | Moderate | Monthly or annual subscription |
| Architect-led 3D modeling | Custom homes heading to permit | Steep | Buildable | Project-based professional fee |
Most homeowners start with a free app to test room shapes and furniture arrangement. That's fine for early thinking. It is not fine for construction.
DIY Software vs. Architect-Led Visualization
DIY software is fast and cheap, and it's genuinely useful for space planning. You can drag and drop walls, try furniture arrangement, and see a rough 3D layout in an afternoon.
Where DIY tools fall short is buildability. They rarely check structural spans, code compliance, or how a roof actually drains. A design that looks great on screen can fail at the first plan review.
Architect-led visualization solves that. At ArchitexOne, our six-phase process puts a licensed architect on the design from the first sketch through construction.
Hardware and Licensing Details Most Guides Skip
Before you commit to a tool, check three things that trip people up:
- Device requirements. Many 3D and rendering features run best on a desktop or laptop with a dedicated graphics card. Tablet and phone apps are convenient for viewing and light editing, but heavy rendering may be limited or cloud-based.
- Export and licensing limits. Free tiers often restrict file exports, resolution, or commercial use. If you plan to hand drawings to a builder or designer, confirm the license allows it and that exports are in a format they can open.
- Subscription traps. Annual plans are usually cheaper per month than monthly plans, but they lock you in. If you only need the tool for a few weeks of early planning, a monthly plan may cost less overall even at a higher rate.
Step 3: Visualize Your Floor Plan in 3D
To visualize a floor plan in 3D, enter your room dimensions and wall heights into your design tool, then extrude the plan upward.
Start with the shell only. Get the room shapes and wall positions right before you add anything else.
- Set wall heights to match your target ceiling height
- Confirm door and window openings are in the right walls
- Check that hallways and stairs actually connect
Then walk the plan room by room. Ask one question in each space: does this room do what we need it to do?
This step is where space planning stops being abstract. You stop guessing about flow and start seeing it.
Step 4: Generate a Custom Home 3D Rendering
A custom home 3D rendering is a realistic image generated from your 3D model. It shows materials, colors, lighting, and landscaping so you can judge the design before anything is built.
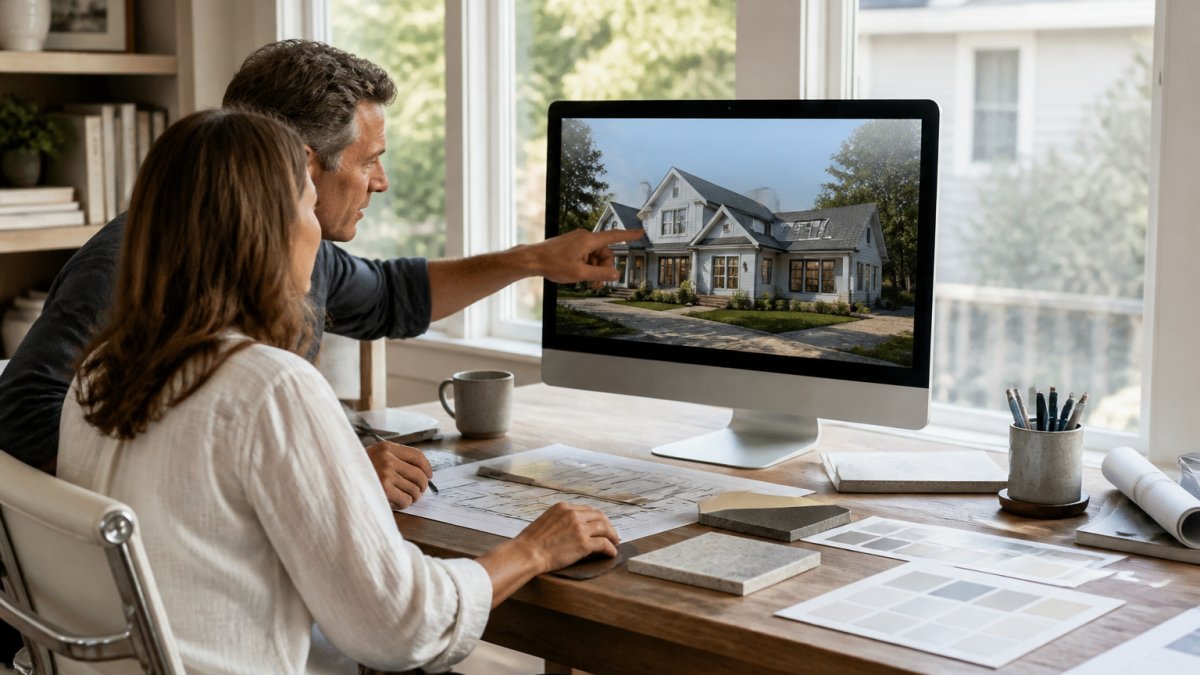
Rendering settings change everything. Sun angle, time of day, and material choices shift how a house reads. Render the same design at 9 a.m. and 6 p.m. and you'll see two very different homes.
What to Review in a Rendering Before You Approve It
Check the exterior first. Look at roof lines, window proportions, and how the house meets the ground. Those three things drive most of a home's curb appeal.
Then check the interior views. Confirm sight lines from the kitchen, the entry, and the main living space.
- Do windows land where you want light?
- Does the ceiling height feel right in each room?
- Are cabinets, appliances, and furniture to scale?
If something feels off, say so now. Changing a rendering costs nothing. Changing a framed wall costs a great deal.
Step 5: Take a Virtual Home Walkthrough
A virtual home walkthrough lets you move through the design as if you were standing inside it. Competitors mention walkthroughs in passing. The useful part is knowing which type you are using and what each one catches.
The Three Walkthrough Formats
- Video flythrough. The software renders a fixed camera path and exports a video file. It is easy to share and plays anywhere, but you only see what the creator framed.
- Real-time navigation. You steer the camera yourself inside the model, walking room to room and looking around. This is where you notice flow problems, but it usually requires a desktop or a capable tablet.
- Augmented reality (AR). AR places your design into a live view of your actual lot or room through a phone or tablet camera. It is the best way to judge scale against real surroundings, though it works best for single rooms or exterior massing rather than a full interior tour.
Some tools also support virtual reality headsets for a fully immersive pass. That is optional, and the hardware cost is not necessary for most homeowners.
What Walkthroughs Catch That Stills Hide
A hallway that looks fine in a rendering can feel cramped the moment you move through it. Watch for these:
- Door swings that block each other
- Kitchen work zones that overlap
- Stairs that arrive in an awkward spot
- Windows that look into a neighbor's wall
- Ceilings that feel low once you are under them
Do the walkthrough more than once. The first pass is excitement. The second pass is where you notice things.
Exporting and Sharing the Walkthrough
A walkthrough only helps if other people can see it. Before you send anything, check what your tool allows:
- Export format. Video files are the most portable. Some tools export only still images or require a paid tier for video.
- Resolution and length. Longer, higher-resolution exports take more time and may be capped on free plans.
- Annotations. If the tool supports it, mark the views where you have questions so reviewers know where to look.
When you share, send the walkthrough alongside the still renderings and a short list of the specific questions you want answered. A walkthrough without context gets a vague reaction. A walkthrough with three pointed questions gets usable feedback.
Step 6: Check Accuracy, Scale, and Buildability
Pretty renderings are not proof of a buildable design. Before you approve anything, run three checks: accuracy, scale, and buildability.
Accuracy means the model matches the real dimensions of your lot and existing structure. Scale means every element is sized correctly against real products. Buildability means a contractor can actually construct what's drawn.
- Verify the model against your survey and site measurements
- Confirm standard material sizes, like cabinet depths and window units
- Ask whether the structure meets local building and energy code
This is the step where an architect earns their fee. A licensed architect reviews the design against code and construction reality, not just aesthetics. International Code Council publishes the model codes most states and towns adopt for residential construction.
Step 7: Share Your Custom Home Designs and Collect Feedback
Sharing your custom home designs early prevents expensive surprises later.
But ask better questions. "Do you like it?" gets you polite answers. "Where would you put your morning coffee?" gets you real information.
Try these:
- "Walk me through your morning routine in this kitchen."
- "Where does this room feel too small or too big?"
- "What would you change about the entry?"
Collect the feedback in one place and review it with your architect in a single pass. Piecemeal changes create contradictions. One structured review keeps the design coherent.
If you're working with a contractor you already trust, bring them in at this stage.
Conclusion: From Concept to Confident Build
The gap between a design you love on screen and a home you love to live in comes down to process.
That's the work ArchitexOne does every day. Our architect-led approach carries your project from site selection through final construction, with a six-phase process built for clear communication and project control.
Get in touch with ArchitexOne and start turning your concept into a home you can build with confidence.
Frequently Asked Questions
How can I visualize my custom home before it is built?
Start by gathering reference images and defining your style preferences. Then use 3D home design software or work with an architect to create a detailed floor plan and convert it into a 3D model. From there, you can generate renderings and take a virtual walkthrough to see how the finished home will look and feel before construction begins.
What tools can I use to turn a floor plan into a 3D model?
You can use consumer-friendly 3D home design software with drag-and-drop features, or rely on professional architectural tools. Many programs let you import a 2D floor plan and automatically generate a 3D layout. For the most accurate and buildable model, an architect can create a precise 3D representation that accounts for structural details, room shapes, and roof lines.
Are 3D renderings accurate representations of a finished home?
High-quality 3D renderings aim to be highly accurate, especially when based on a detailed floor plan and real material selections. However, they are visualizations, not guarantees. Lighting, landscaping, and minor construction variations can affect the final result. Reviewing the rendering with your architect and checking scale and buildability helps ensure the design matches your expectations.
What is the difference between a 3D rendering and a virtual walkthrough?
A 3D rendering is a static image that shows a specific view of your design, such as the exterior or a room. A virtual home walkthrough is an interactive experience that lets you move through the space in real time, viewing it from multiple angles. Both help you visualize custom home designs, but walkthroughs give a stronger sense of flow and spatial relationships.